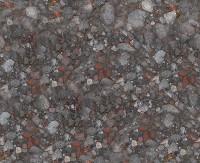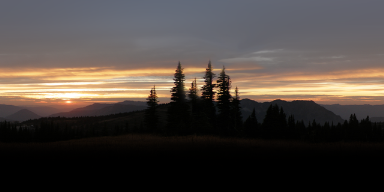
The Generated Geometry sample program uses two textures, sky.bmp:
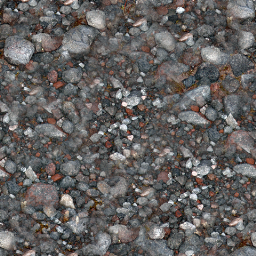
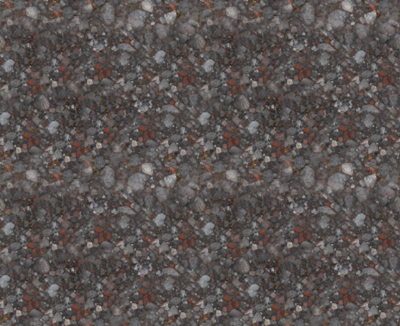
and rocks.bmp:
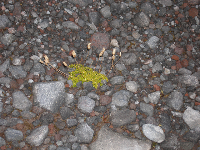
Both started out as photographs taken near Paradise on the south side of Mount Rainier. Here are the originals:
To use these as textures, I needed the sky to tile seamlessly from left to right, and the rocks to tile in all directions. There are various tools that attempt to automatically tile an image, but for this sample I did it the manual way.
I'm not actually all that happy with the sky texture. I love the photo, but even with quite a wide angle this is still only capturing maybe a 90° field of view, so it gets badly stretched when I wrap it all the way around a 360° skydome (this is why the trees look so implausibly big in the sample). It would have been better to take several photos facing different directions, then collage them together to form a wider image.
Notice how as well as making the sky tile from left to right, I also modified the top and bottom so they fade out to constant gray and black colors. That is necessary because the skydome mesh will fold the texture into a single point at the top and bottom of the cylinder. This would normally cause an ugly discontinuity at the north and south poles, but by making the texture a flat color at those locations, the problem can be hidden.
But enough of that. How does one go about making a texture tile?
First off, you need a decent paint program. I'm a long time Photoshop user, but if you want something free, Paint.NET or the Gimp are both good.
Next, you need to clean up the source image. Mine had a plant growing in the middle of it, which I didn't want in my texture. I used the clone stamp tool with a nice big brush to select an area of good looking rocks and paint them over the unwanted plant. I started with this:
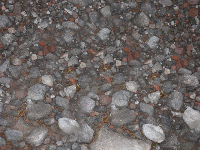
and cleaned it up to produce this:
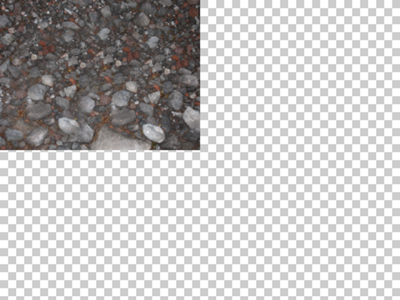
Now resize the canvas to 200%, leaving the original image in the top left corner:
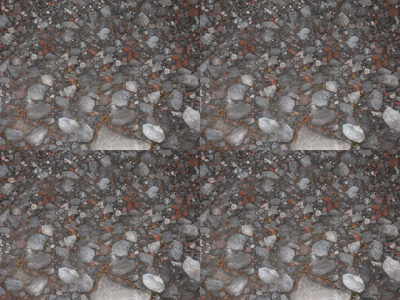
Clone the image three times, filling the canvas with four identical copies:
As expected, my image does not yet tile, so the seams are very obvious. Again using the clone stamp tool, I selected decent looking areas and painted them over both the horizontal and vertical seams:
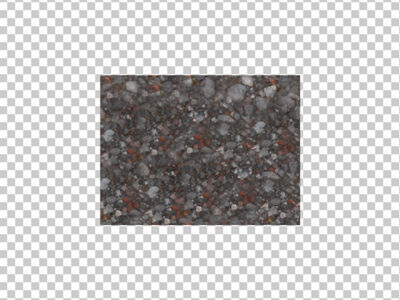
Now resize the canvas back down to the original dimensions (50% of the current size), preserving the middle area of the image:
I am left with this final texture:
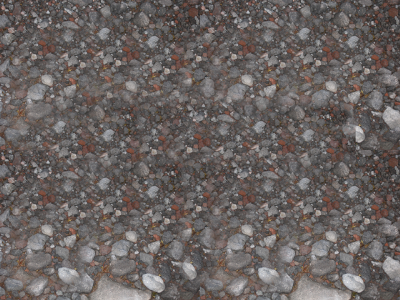
If all has gone well, this should now tile perfectly. I can check that by repeating the process of increasing the canvas size to 200% and making three new clones to fill the extra space:
Yay! That will do nicely.
You may sometimes find the seams are still visible at the end of this process. Don't worry if that happens, just repeat the same steps again: paint over the objectionable bits, crop out the middle portion of the image as you shrink the canvas to half size, then tile four copies of it back onto a double size canvas to check the new result. If I remember right I actually repeated this three times while preparing the version in the sample.
Note that this kind of editing works best at as high a resolution as possible. I set my camera to the maximum resolution it supports, and only scale down to final game resolution after all my editing is complete. That way I can be fast and sloppy, but still get a nicely antialiased result.
You should avoid using compressed formats like JPG during the editing process. Most digital cameras will save JPG images, and that's ok, but you should convert these to a lossless format like BMP, PNG, or (my personal favorite) TGA before you start to edit them.